Occasionally, Microsoft Dynamics will not load the Live Assist agent chat panel on a Unified Interface Hub as specified by the Channel's configuration within the Channel Integration Framework. The cause of this can be due to the missing triggers within Microsoft Dynamics that are normally established as part of the installation of the Channel Integration Framework. The steps below restore those triggers, after which, the Live Assist Channel should be loaded on all configured Unified Interface Hubs.
1. Log in to Dynamics 365. Click the cog icon and then go to the Advanced Settings. 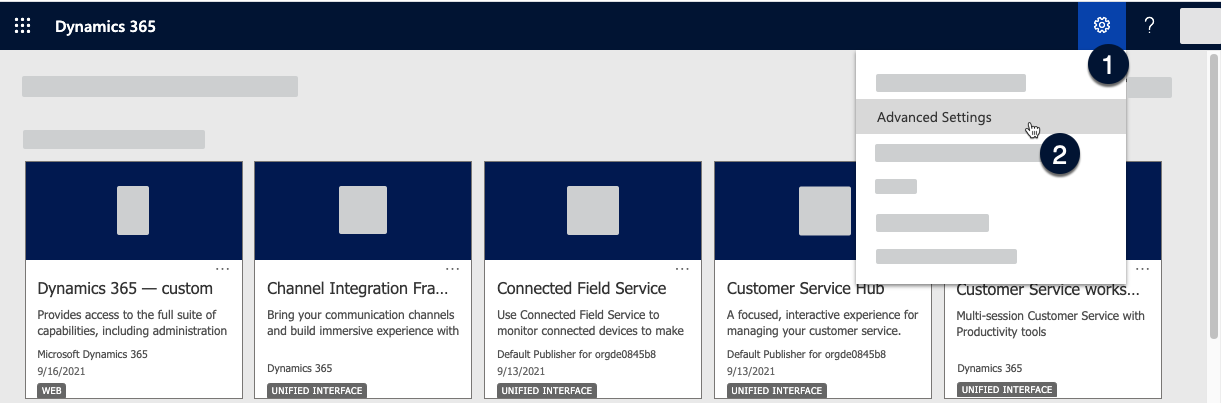
2. On the drop-down menu of Settings, select Customizations.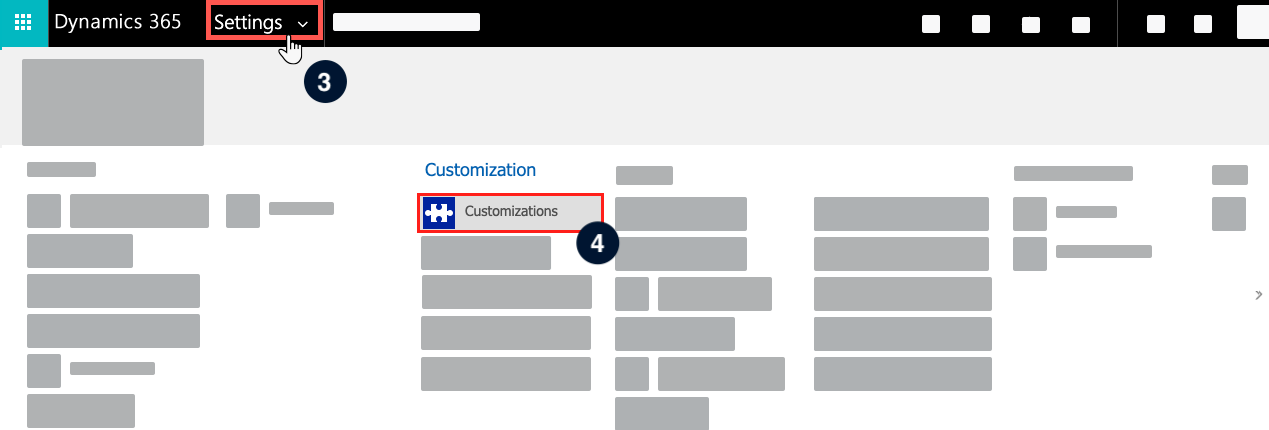
3. On the Customization section, select Customize the System.
4. A new pop-up window will open. Select Model-driven Apps on the left panel and then double-click Customer Service Hub.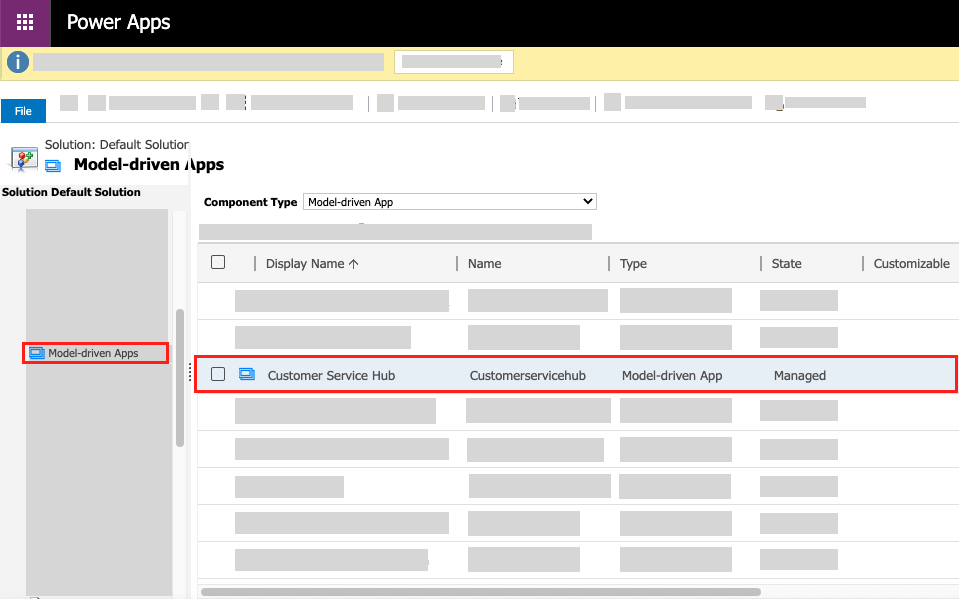
5. Another pop-up window will open. Click Entities on the right panel. 
6. Tick the box next to Account Project Price List or tick any one of the available empty boxes. Click Save then click Validate and finally click Publish. 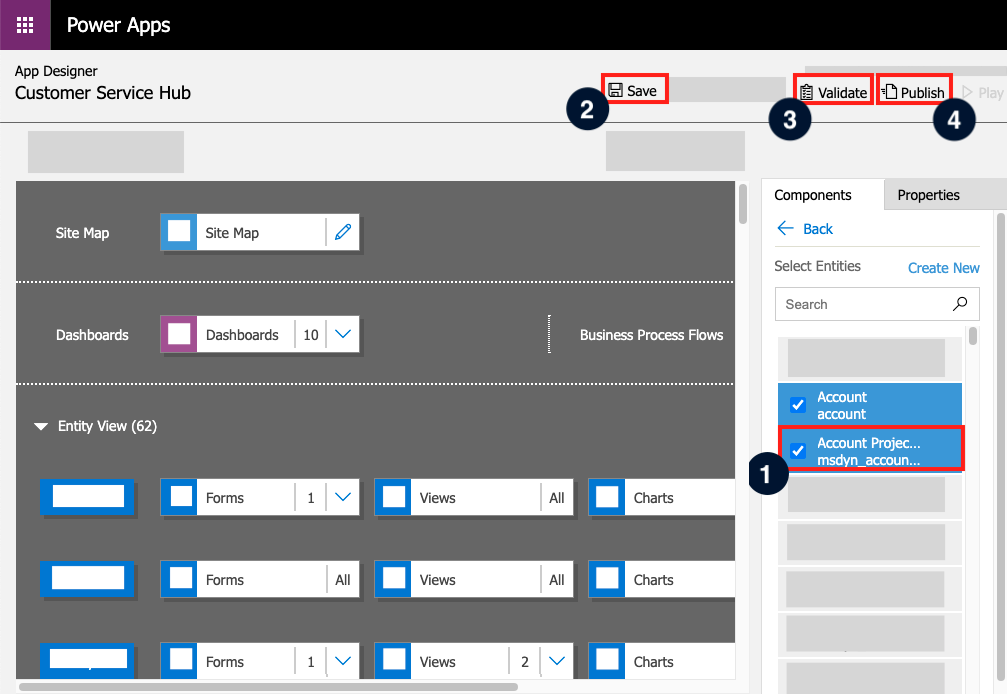
After doing the above steps, close all the pop-up windows. Clear browser cache and cookies - at this point if you go back to the main Dynamics page and refresh, you should be logged out.
7. Log in again to Dynamics and then open the Channel Integration Framework settings.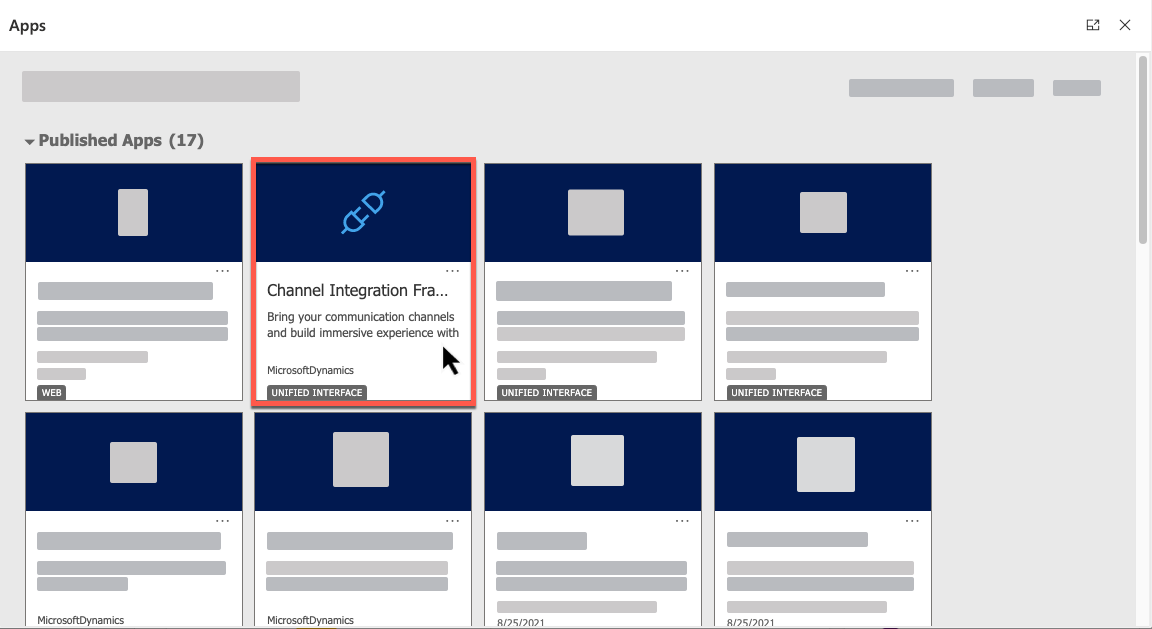
8. Select the Live Assist Channel Provider and then on the "Select Unified Interface Apps for the Channel" option, remove the Customer Service Hub application.
9. Add the Customer Service Hub app again to the list of Apps. Click Save and close. 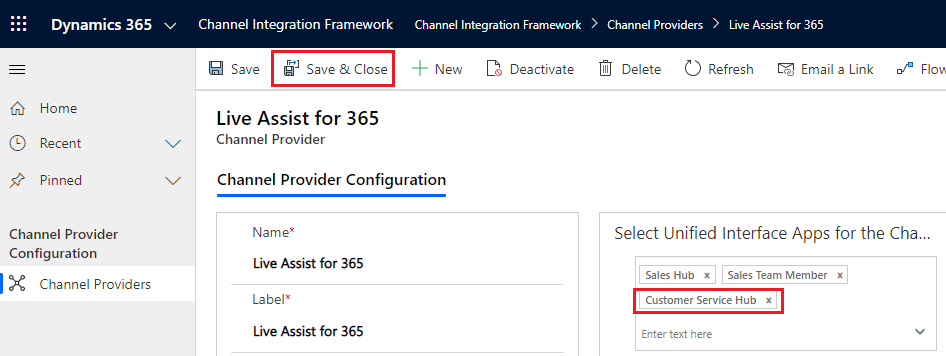
10. Open the Customer Service Hub app and at this point, the Live Assist agent chat panel will now appear.
Note:
After implementing the steps above, go back to the "Customize the System" section then remove the customization that was applied and added to the Customer Service Hub following steps #1 to #6. After which, the Live Assist channel should still continue to load, as expected.